
Step-by-Step Office Removals Guide for Moving Heavy Safes
Moving a safe is far from a simple task—it requires careful planning and the right approach to ensure it’s done safely and efficiently.
Safes are designed to withstand pressure, damage, and tampering, so they tend to be extremely heavy and often bolted to the floor or embedded in walls.
While this makes them secure, it also makes moving them more challenging.
But don’t worry—while it may seem daunting, with the proper tools and preparation, relocating a safe can be done without hassle.
With the right preparation, tools, and a little know-how from office removals you can get the job done without breaking a sweat.
Preparing for the move
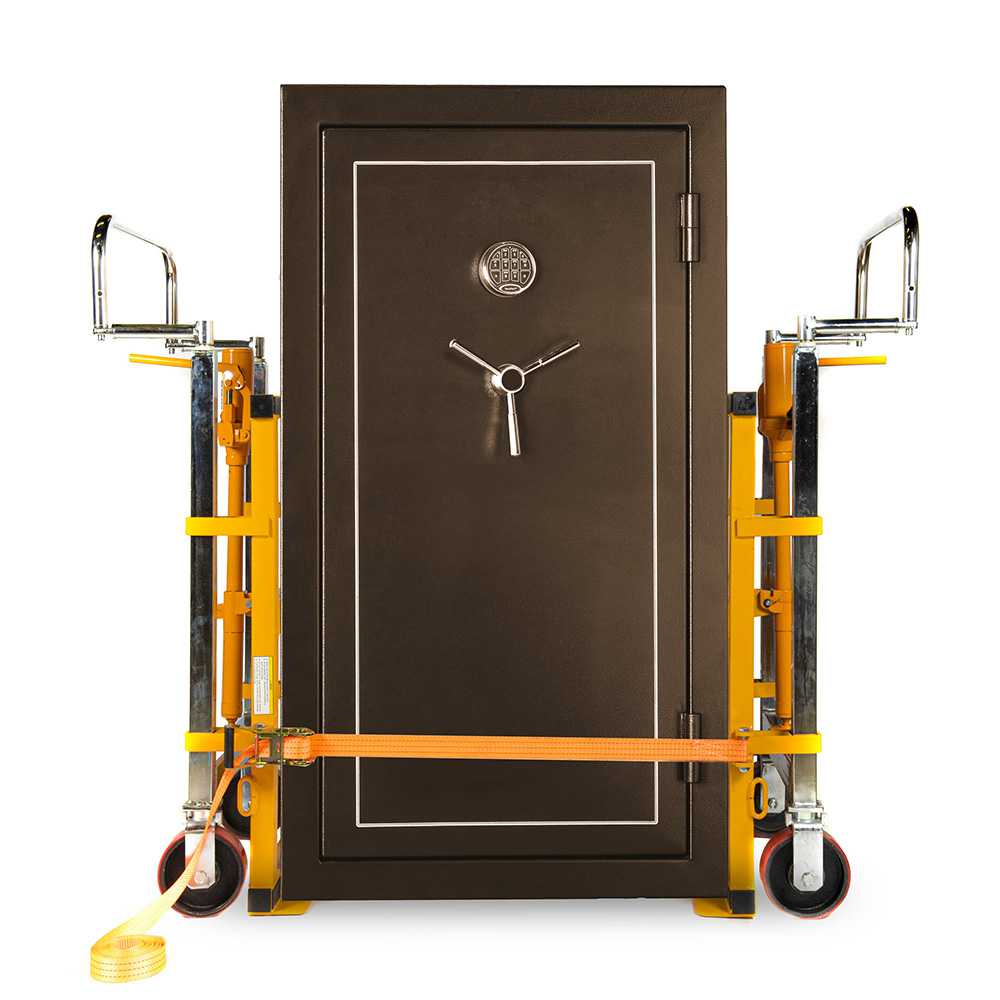
Shifting about a 1-ton home or office safe is a herculean task, and with the right preparation and teamwork, it can be tackled like a pro.
Before diving deeper, let’s check if you are fully equipped or ready to advance—as when it comes to heavy lifting, preparation is everything.
Before thinking of moving a heavy safe, first get the following right:
- Assemble a team: It’s never advisable to move heavy objects alone. It’s safer to have a helper nearby to reduce the risk of accidents that could bring about injury or material damage.
- Run the numbers: Find out how much the safe weighs in advance. If it belongs to a client, request for information. It helps you know which dolly is best suited for the task as they have weight limits which when exceeded can result in accidents or injury.
Large safes are often handled by office removal service providers who have the knowledge, expertise, and tools required when safely moving items of that size.
- Ask for help: If your establishment plans on moving a 1-ton safe, it is highly unfeasible to get this done alone. It doesn’t matter how many deadlifts or benchpress sets you complete at the gym; sometimes it’s better to work smart than hard.
- Prepare measurements: Conduct due diligence by counterchecking the specs on your equipment. That way you only buy or rent the most suitable equipment for handling the load. This information is available in the safe purchase documents. Alternatively, the safe’s brand name and model are all you need to find out more details. You can buy or rent supporting straps that secure the load without snapping when moving.
- Dorn the right attire: When handling heavy loads, jewelry and loose clothing may not be the best attire. If you are helping out, have closed shows, high-quality gloves with a nice grip, and comfortable clothing.
- Map the route: Know where you are heading and identify any tricky areas such as sharp corners, stairways, or narrow hallways that could complicate the exercise. Better to have a contingency planned for everything to prevent surprises on D-day.
- Protect the items or surroundings: Depending on what is convenient, at times moving heavy items is best done when they are covered. This can be done with cardboard, old carpets, or towels.
How to Move a Heavy Safe: Step-by-Step Instructions
If you are dealing with a large safe, here are steps you can follow this preparation checklist.
Step 1: Assess the situation before the move
If your safe only stores cash or a few items, then you are safe.
There will be no fuss when moving small vaults because they can easily be moved from one place to another.
Now, since you are reading this, you are looking for a safe way to move your safe.
Chances are it is heavy and has a high-grade metallic surface. In many cases, such safes are fridge-sized and big while heavier.
These types of safes provide ample protection for guns and other valuables, preventing loss from burglary, fire, or environmental damage.
Office vaults are not meant to be moved around once installed unless an urgent relocation is necessary.
If you are unable to afford a professional mover service to safely do the loading, gather a few helpers—preferably two or three.
Just as with anything movable, you must go about it safely.
Most safes are heavy and should it drop on your foot while moving, it can result in injury. Here is moving equipment that will help you move your safe the right way.
- Heavy-duty doll
- Furniture ropes and straps
- Working gloves
- Dolly
- Truck-mounted loading ramps
Preparation Checklist
✔️ Assess dimensions and weight.
✔️ Clear the route.
✔️ Gather safety gear (gloves, dolly, straps).
✔️ Enlist helpers.
Now that you have all you need to get started, you can proceed to wrap your safe.
Step 2: Secure and wrap the safe
Remove all items from your safe. Even if it is simply documents, firearms, jewelry, and other valuables, it all compounds. Taking them out also prevents anything delicate from getting damaged. Neatly wrap and transport these items separately in a way that is safe and secure.
Lock your safe with its door closed and load it onto a dolly. First things first: make sure the door is securely locked before you start. An open door can swing unexpectedly, leading to accidents or injuries, so it’s always best to keep it closed tight.
Next, protect both your safe and your surroundings by wrapping it up. Moving blankets are a fantastic option—just make sure to cover all the metal parts and secure them with straps, tape, or ropes. If you’ve got bubble wrap handy, that works too! Wrapping not only prevents scratches and dents to your walls and floors but also reduces the risk of injury from sharp edges.
Moving a safe isn’t a one-person job, and it’s not something to take lightly. For the smoothest and safest experience, consider calling in professional movers with the skills and tools to handle heavy-duty tasks.
Now that your safe is secured, it’s time to carefully load it onto a dolly to prepare for transportation.
Step 3: Load the safe onto a dolly
When it comes to moving your safe, a dolly is your best friend—specifically, a heavy-duty one designed to handle the weight and dimensions of a safe with ease. While it might be tempting to get creative with unconventional methods like rolling it on golf balls, PVC pipes, or metal rods, it’s always safer and smarter to stick with proven tools.
Station the dolly right at the edge of the safe. Have helpers stationed on either side. Exert a gentle tilt on the safe then carefully slide the dolly underneath while returning it back till it is mounted and perfectly balanced. When in place, it should be bound and strapped onto the dolly to prevent any slip or misplacement when moved on uneven terrain. Remember to double-check just to ensure the strapping is firm and rigid.
Apply proper techniques and equipment in smoothening the process so it is safer, smoother, and less stressful.
Preparation Checklist
✔️ Position the dolly
✔️ Get helpers
✔️ Tilt the safe
✔️ Slide the dolly underneath, make it balance
✔️ Secure straps and ropes
✔️ Move slowly
Step 4: Move the safe to the truck
When it’s time to move your safe to the truck, take it slow and steady—this isn’t a race. If you’re working with just one dolly, establish a set of clear warning signals with your helpers before you begin.
For example, designate someone to walk ahead of the load to ensure the pre-planned path stays clear and everything proceeds smoothly.
Going about the stairs adds an extra layer of risk and complexity. For a few gently sloped steps, recruit extra hands to help guide the dolly carefully.
When maneuvering around corners, take a wider turn than usual, positioning your dolly at an angle that maximizes control.
But if the path involves several stairs, it’s time to call in professional movers.
However, if many steps are involved, it’s much better to contact professionals to prevent accidents.
Important things that can get you started before relocation
- Measure tight spots: Walk ahead of your route. Look at the measurements of the safe and align them with the dimensions of the route or truck to avoid surprises.
- Clear the path: Remove obstacles like furniture or scattered boxes so you do not trip along the way.
- Plan the route: Go with the path of least resistance or obstacles along your way. If the closer pathway has a stairway it’s better to avoid it and opt for the longer safer route.
- Set safety rules: Ensure everyone taking part in the moving process has the right tools, kits, and gear.
When the safe is positioned on the dolly, you can then focus on navigating the routes experienced by moving trucks.
Step 5: Load the safe on a truck
The vehicles where the safes will be loaded must be spacious enough to comfortably accommodate the safe.
A motor-driven loading ramp is ideally the best bet when dealing with a 1-ton safe. In the event this is not available, a standard ramp that can accommodate the weight of the safe works too.
To load this safe on the truck, work with helpers where one pulls the dolly up and others apply steady pressure from behind.
During the lift, a smooth yet controlled motion is applied onto the truck bed with a coordinated effort. Inside the truck, place side straps or sturdy ropes.
This prevents the truck from shifting hazardously or tipping when in transit.
Step 6: Secure the safe
Apply the same standard of safety and precaution when protecting the contents within and safeguard the walls, floors, and all other surfaces.
Placing a safe in a new location requires a deep level of attention and care when moving it away from its original spot.
Adhere to all safety precautions particularly safeguarding the walls, floors, and other surfaces along the way.
Just remember to plan your route thoroughly keeping aware of its hazards in final placement.
Key Takeaway: Prioritize Safety
It’s quite a hassle if you decide to handle the removal in-house. Sometimes it’s more convenient
Don’t let the stress of removals weigh you down. Emmanuel Transport home and office removals have a long record of handling safe removals successfully and would be a great option for anyone around Perth, Australia.